We’ve got some news here at Fig & Bloom… we’re moving! Well, our Melbourne studio is relocating to a new and exciting location. You’ll now find us on 274 Wingrove Street, Fairfield, just opposite the train station, and a few doors down from the amazing Nikos bakery (you can be sure that we’ll be getting our daily pastry fill…).
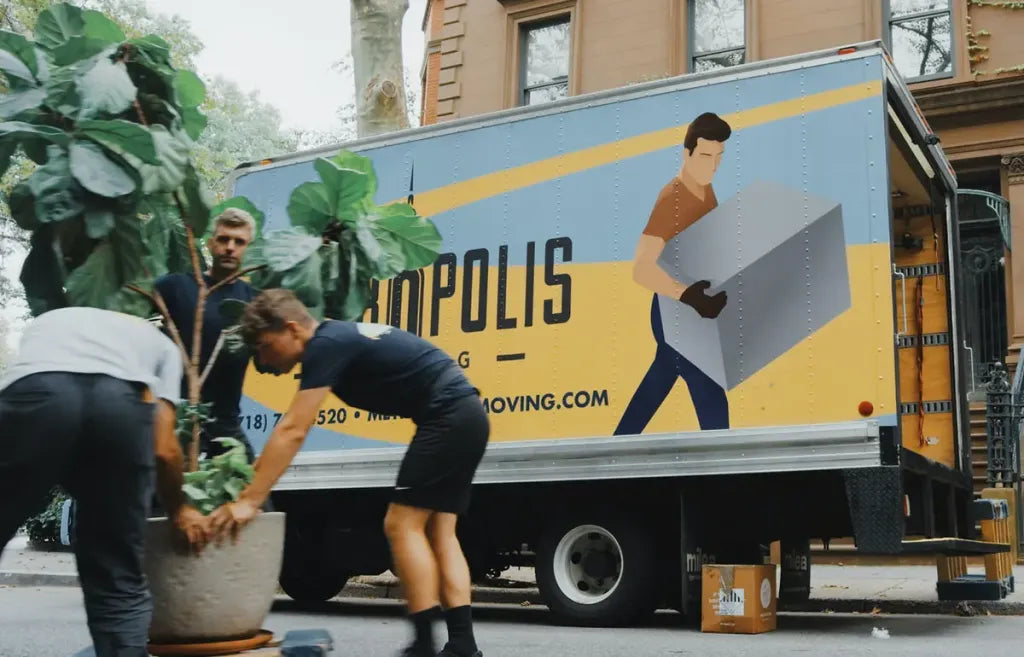
So this month, we’ve been transferring our team, all our floral goods, and our plants to the new spot. As we all know, moving plants can be a challenge. They’re precious things and can be easily damaged if they’re not handled correctly. So, in honour of our recent move, we thought we’d let you in on our top tips and tricks for shifting plants in the best conceivable way.
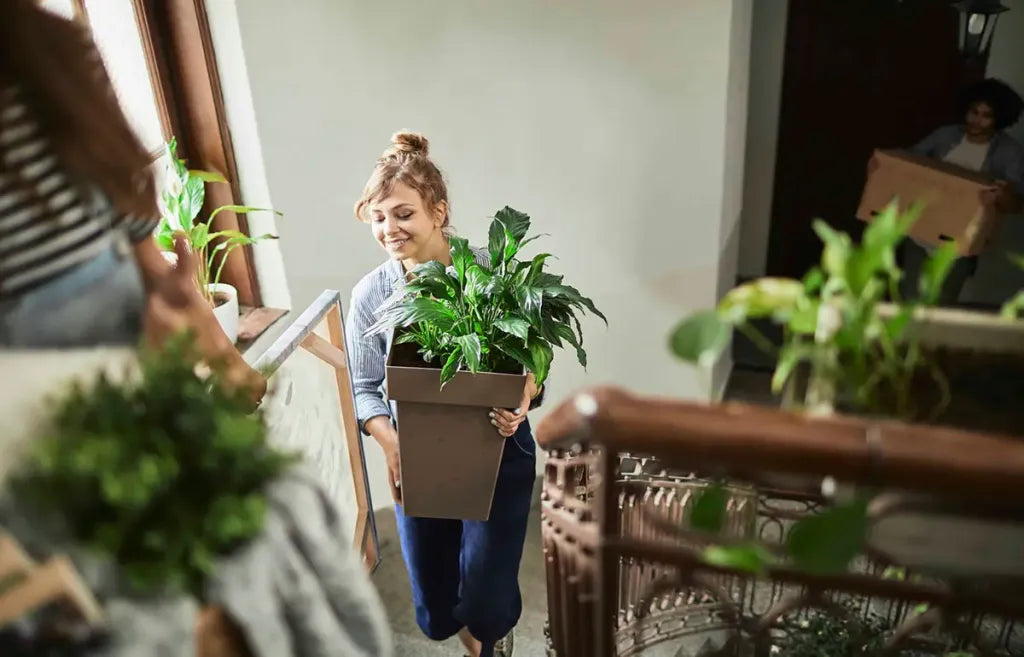
Tips for moving house with plants
#1 Speak to the removal company
The most important first step of your moving journey is to warn your removal company, especially if you’re moving a jungle, like us! Some companies don’t like taking plants at all, while others may take extra precautions. It’s worth letting them know.
#2 Check for pests
Before you start lumping them all together in the same place, make sure they’re completely pest-free. If just one plant is infected, you risk spreading it to the lot. Make sure to do this well before moving, so that you have time to solve the problem.
#3 Don’t water right before moving
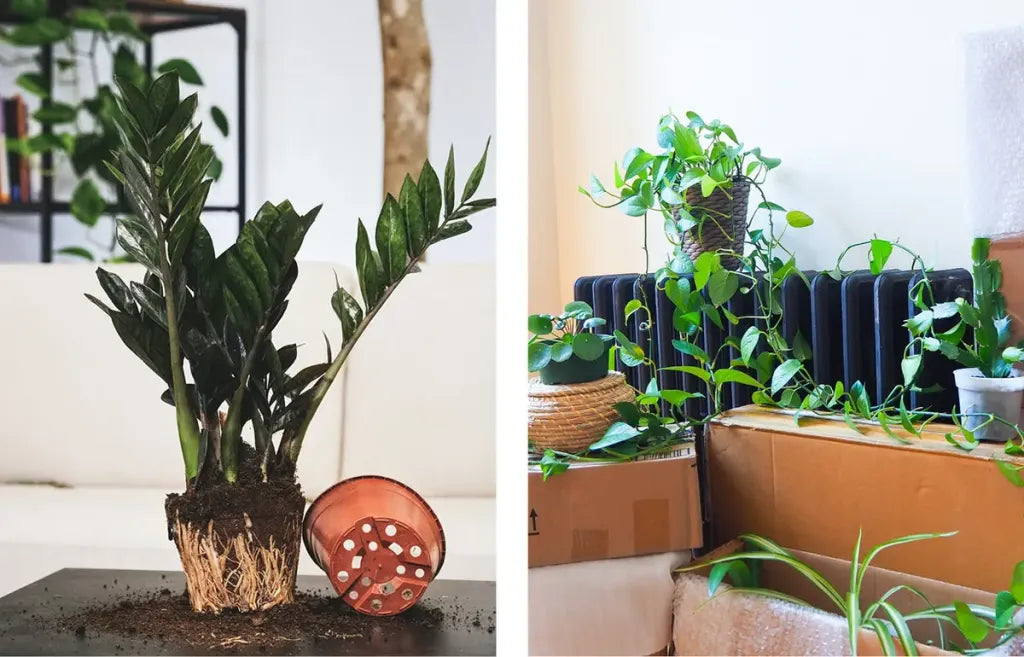
Avoid giving them a big drink just before you move, or they’ll be super heavy and might leak! Make sure you give a watering buffer of at least 3 days before moving day.
#4 Get pruning
Before packing your plants up, it may be worth giving them a prune, especially if they have longer limbs. Keeping your plants more compact means they’ll be easier to transport and will have less chance of getting damaged. It’s a good opportunity to get rid of any dead leaves and stems, too. Similarly, do this well before moving, so as not to put too much stress on the plant all at once.
#5 Repot them
Pop your plants into plastic nursery pots before your move. This will make them lighter to carry, and there’s less risk you’ll break your nice decorative pots, as these can be packed and wrapped separately. You could also replace their current soil if it’s old with fresh soil, so there aren’t any bugs, and to give them a healthy foundation when de-stressed!
You’re getting the idea now, but if you do repot them, make sure to do this far in advance of the move to avoid unnecessary stress.
#6 Wrap them up
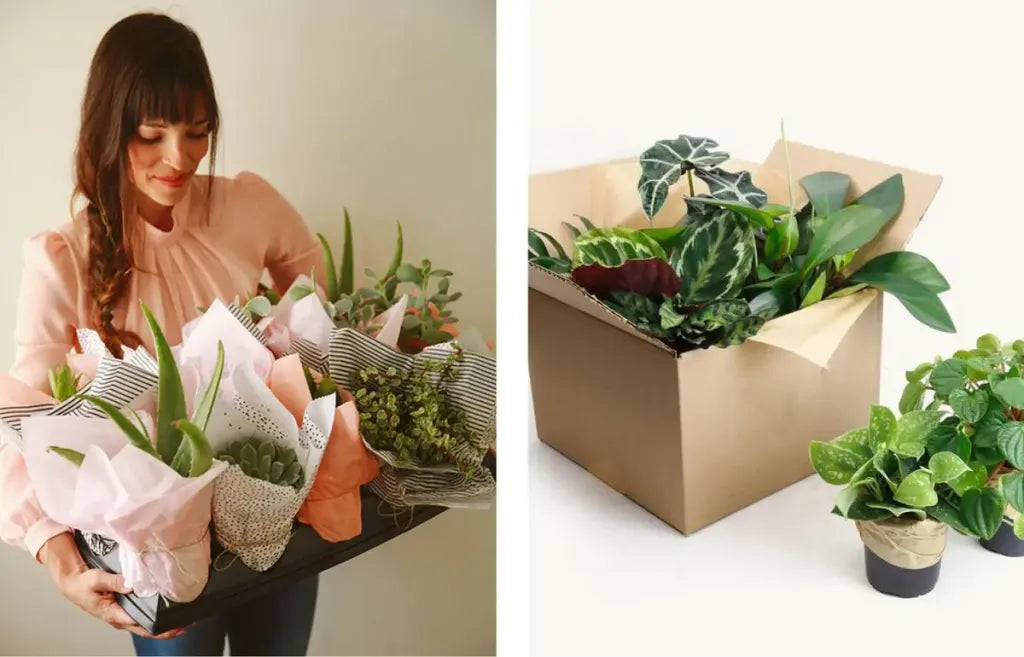
Ok, so now you’re ready to pack! This might seem bizarre but wrapping some of your plants can help to protect them, especially if they’re large or delicate. Try horticultural wrapping – while it’s typically used to keep plants warm in winter, it works well to protect them from bumps and scrapes in a move too. For larger plants with big pots, you could also tape cardboard over the soil to prevent any spillages.
Pack smaller plants in a box without a lid, and scrunch newspaper or pack with bubble wrap to keep them secure. If you’ve got dangly plants with sprawling stems, we recommend using soft cable ties to keep them in place for the move.
#7 Pack them last
As we know, plants don’t like being moved, or being taken out of their happy growing environment. So when moving house, aim to pack your plants last. Be prepared with the steps above, but they won’t like being in boxes or wrapped up for too long.
#8 Transport them yourself
We advise transporting plants in your own vehicle as much as possible, as you have more control over the conditions in which they travel, as well as packing them. You can also keep an eye on them during the journey!
#9 Pack them low
Avoid tipping and damage by putting your plants as low to the ground as possible. The floor of the van, boot of the car, or even the footwells work well.
#10 Unpack them immediately
The last thing to pack, and the first to be unpacked! Get your plants unpacked and into their new spot as quickly as possible. They love to settle, and hate being moved around too much, so get them to their new home, with bright, indirect sunlight – and give them a gentle watering.
#11 Leave them be
Avoid feeding, pruning, or repotting your plant for a couple of weeks after moving, to allow it to acclimatise. By doing these actions, you may encourage your plant to enter growing mode – but it needs to focus its energy on readjusting first!
Visit us at the new studio!
We hope these tips have been helpful – we certainly used them when moving the studio plants over to our new spot. If you’re based in Melbourne, we’d love for you to visit us! Why not order plants online, click and collect, or come and say hello? Or alternatively, join us at one of our upcoming workshop dates and learn some new skills while you’re here. See you soon!


